(Click for full-size picture)
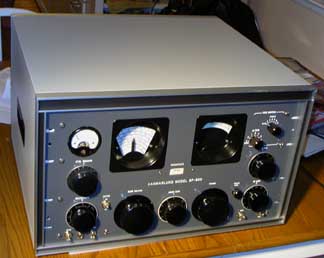
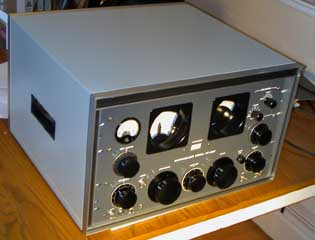
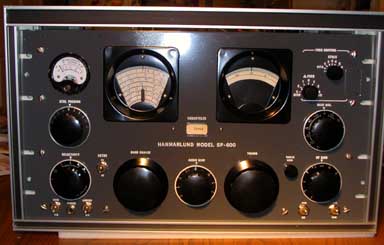
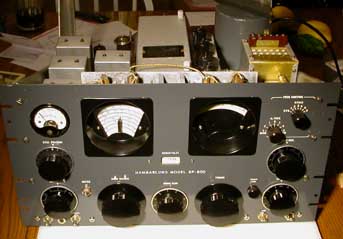
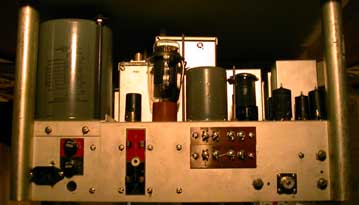
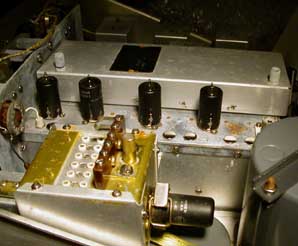
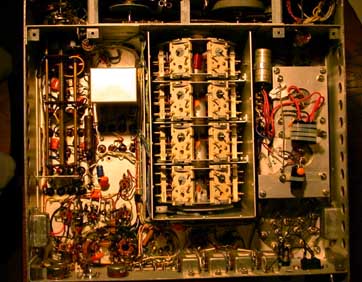
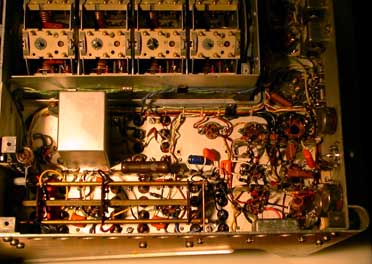
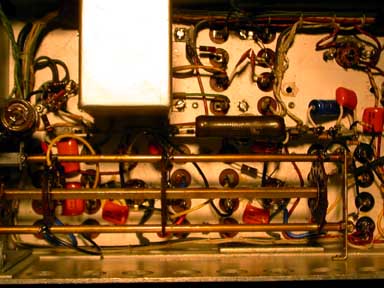
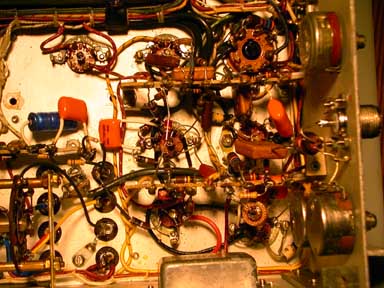
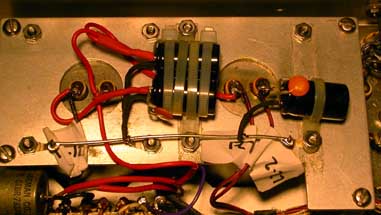
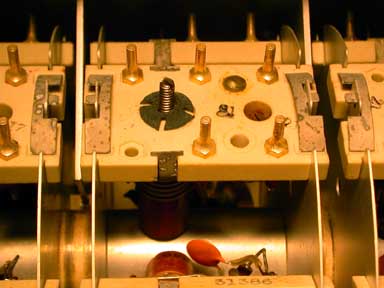
This was a most remarkable unit. It looked to me like it had never been used. The tubes looked and tested new. All the wiring inside was brightly colored (it is generally so discolored that you can't tell one color from the other - they are all brown). The white wires were really, really white. All the insulation was in perfect shape - not flaking off or brittle. The problem was that the unit looked like it had been left out in the rain. ALL the hardware was rusted. This was the only unit where I felt compelled to replace ALL the hardware with stainless. Yes, every screw and every nut was replaced. The only exception was one screw that I couldn't reach. I took the entire RF unit apart to get in and replace the hardware. I replaced all the screws in all the sockets, and the screws that held the terminal strips on.
There was quite a bit of corrosion stain on the chassis. I got as much off as I dared, but there is still some left. It is generally right around the tube sockets.
On the other hand, this one had noticeably fewer out-of-spec resistors than I am used to. Generally all the high-value resistors are way out. Most of the resistors in this unit were just fine.
This is the only receiver where I left most of the original tubes in place. They did not appear to have any wear at all, and tested strong. I replaced a couple with NOS, but that's all.
(Click for full-size picture)
(Click for full-size picture)
(Click for full-size picture)
(Click for full-size picture)
(Click for full-size picture)
(Click for full-size picture)
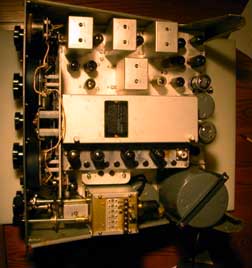
De-Oxit was applied to all the tube sockets. The chassis did not need any major work - it was relatively straight and square. It was apparent that this receiver had not been dropped or otherwise mishandled. There were no bent edges or crushed corners. I replaced the missing tube hold-down clip on V17.
All the miniature tubes have the IERC heat-sheding shields or their Cinch equivalents. These are the only tube shields known to actually increase tube life.