(Click for full-size picture)
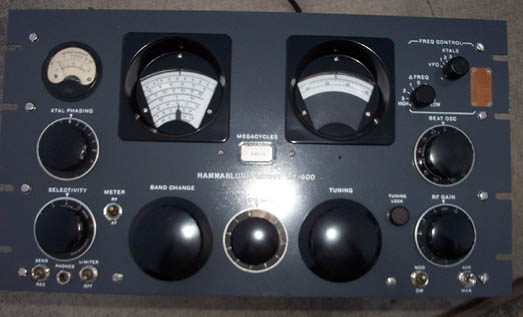
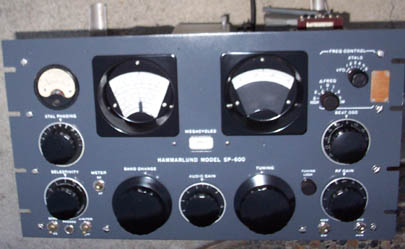
I did refinish the front panel. I used a darker grey so the engraving and the dials stand out better. I did repaint most of the black knobs knobs on this one. They were quite dull. The BFO knob was o.k., so I just polished it. I did not try to repaint the meter. I was worried that some paint would get into the mechanism. I applied dial overlays to both the frequency and the vernier dials (originals on the back). I also had to overlay the band readout dial. Large hunks of paint had flaked off.
I will warn you that the unit, in person, doesn't look as good as these pictures look. I don't quite know why, but the pictures look great, whereas the actual unit has some nicks and scrapes and rust spots on the chassis. This one had a bit more oxidation and pitting on the chassis than I like. I scrubbed it out as well as I could (no steel wool!). I replaced a lot (not all) of the hardware with stanless - especially on the front panel. Every time I took a screw out, I replaced it with stainless, and every time there was a markedly rusty nut or screw that I could get to, I replaced it.
All the controls on this unit operate smoothly and without problem. This one has the smoothest band-change action I have ever experienced. The tuning is quite smooth. The weighted tuning knob spins easily. I did adjust it to drag slightly so it doesn't "walk" on its own.
I did go through and replace all the set screws in the knobs with stainless. Maybe they won't freeze up like the originals did..
(Click for full-size picture)
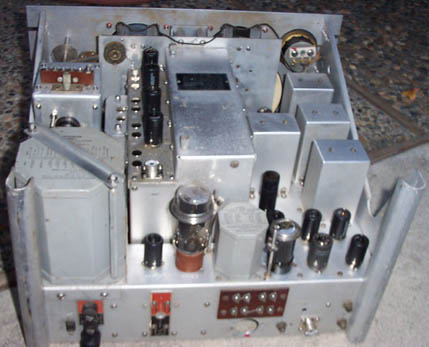
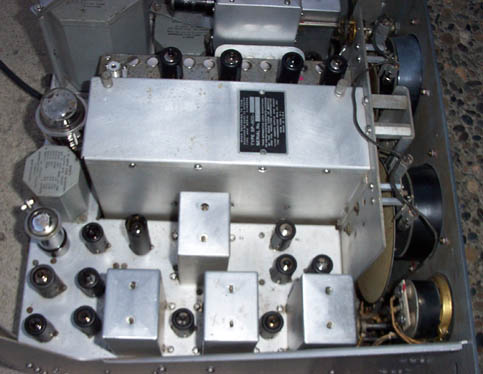
De-Oxit was applied to all the tube sockets. The chassis did not need any serious work - it was relatively clean and square. It was apparent that this receiver had not been dropped or otherwise mishandled. There were no bent edges or crushed corners. I replaced the missing tube hold-down clips on V3, V19, and V17.
(Click for full-size picture)
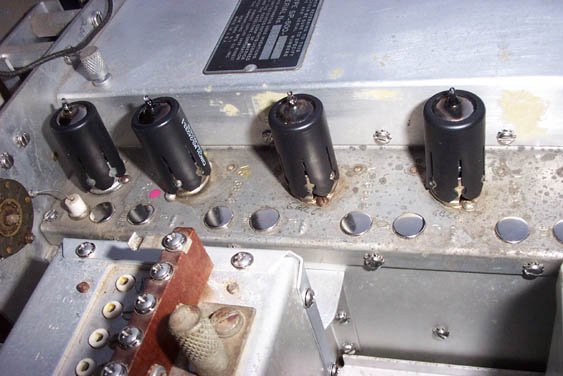
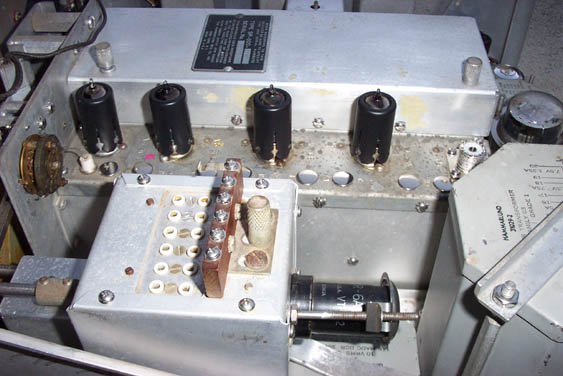
(Click for full-size picture)
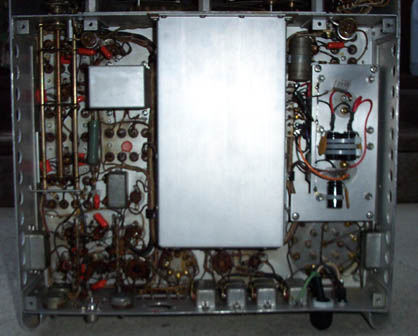
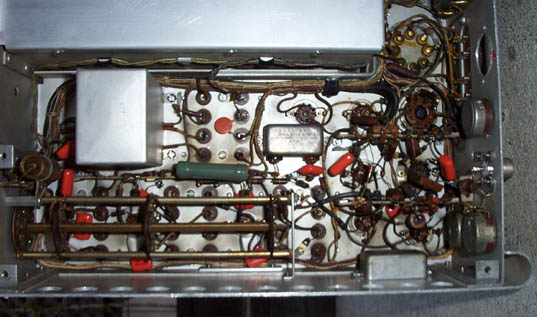
(Click for full-size picture)
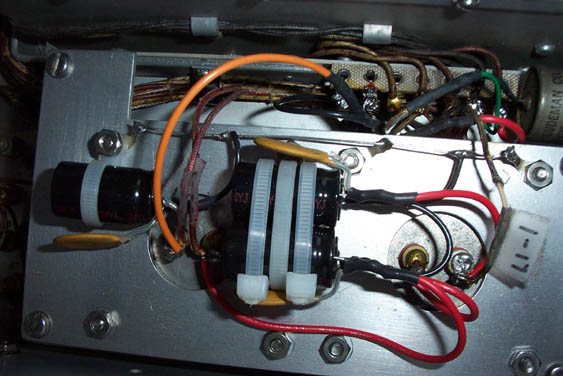
(Click for full-size picture)
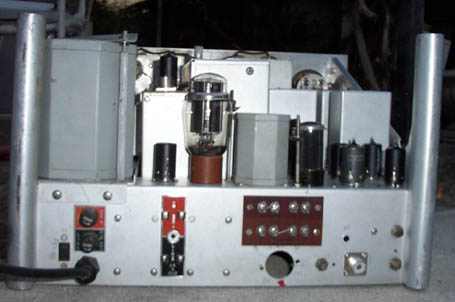

You will notice that some previous owner cut a large circular hole in the rear panel. He had put an octal socket there that brought out the send/receive switch wires, the audio out, +150V, and the IF out. I think he had wired it to an external SSB converter and maybe a send-receive relay or something so that he hits one switch and both the transmitter and receiver switch. I took all that stuff out. Unfortunately, the hole he left us with is not a standard size, so my normal hole plugs don't fit. Sorry.